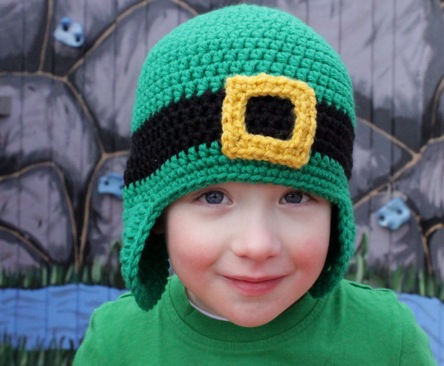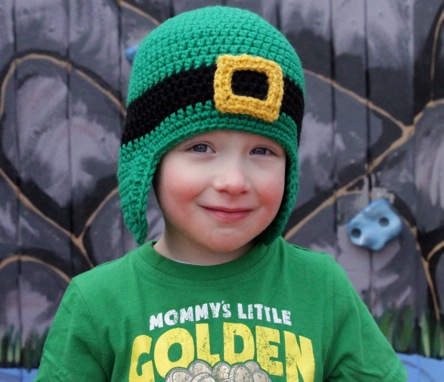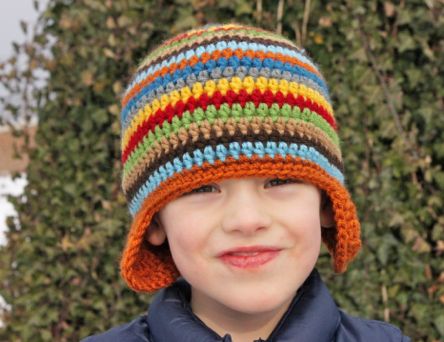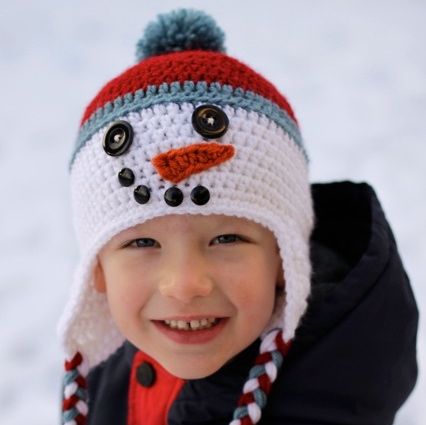
Time for another variation on my free Versatile Earflap Hat Pattern! My youngest son just loves to wear these earflap hats – so much that anytime I start a project, he is always there at my side saying, “Is this for me?” Here’s how to make his current favorite, the snowman.
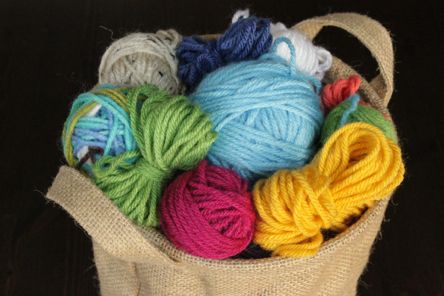
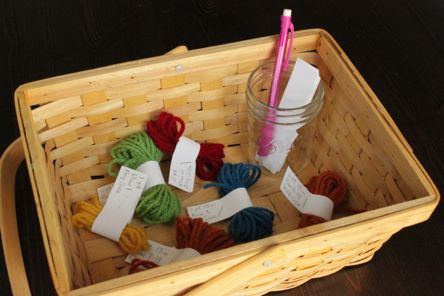
Start by downloading the instructions for the Versatile Earflap Hat Pattern (if you haven’t already), and follow the instructions below to customize the hat into a snowman. I used Lion Brand Vanna’s Choice Yarn for this hat in Cranberry (color A), Dusty Blue (color B), White (color C) and Terracotta (for the carrot nose).
0-3 Months
- Work rounds 1 through 6 in color A
- Switch to color B for round 7
- Switch color C for rounds 8 through 11, both earflaps and both edgings (to better define the snowman’s hat, work round 8 in back loops only)
3-6 Months
- Work rounds 1 through 7 in color A
- Switch to color B for round 8
- Switch color C for rounds 9 through 12, both earflaps and both edgings (to better define the snowman’s hat, work round 9 in back loops only)
6-12 Months
- Work rounds 1 through 7 in color A
- Switch to color B for round 8
- Switch color C for rounds 9 through 13, both earflaps and both edgings (to better define the snowman’s hat, work round 9 in back loops only)
Toddler
- Work rounds 1 through 8 in color A
- Switch to color B for round 9 & 10
- Switch color C for rounds 11 through 15, both earflaps and both edgings (to better define the snowman’s hat, work round 11 in back loops only)
Child
- Work rounds 1 through 10 in color A
- Switch to color B for round 11 & 12
- Switch color C for rounds 13 through 18, both earflaps and both edgings (to better define the snowman’s hat, work round 13 in back loops only)
Teen/Adult
- Work rounds 1 through 11 in color A
- Switch to color B for round 12 & 13
- Switch color C for rounds 14 through 20, both earflaps and both edgings (to better define the snowman’s hat, work round 14 in back loops only)
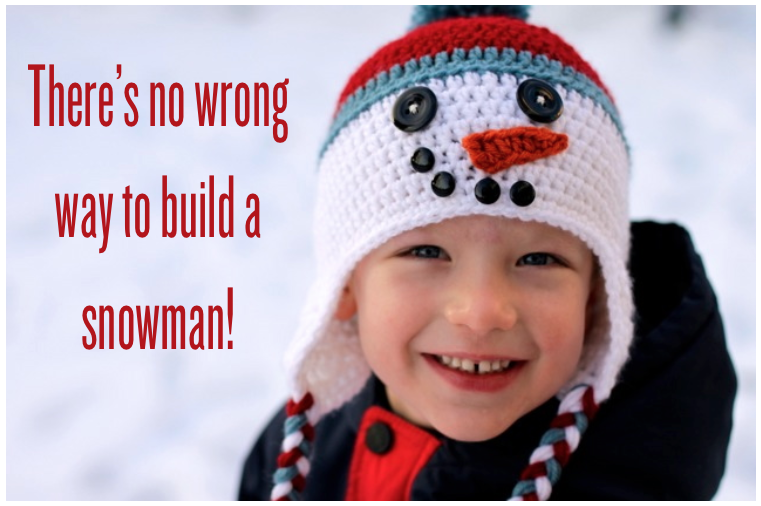
Finish all sizes by adding a carrot nose and any combination of buttons or felt shapes to make the eyes and mouth. For the child size hat pictured I used 1″ buttons for the eyes and 1/2″ buttons for the mouth. I also topped my snowman hat off with a pom pom made in color B and braids on the earflaps in colors A, B and C.
Carrot Nose
0-3 Months, 3-6 Months & 6-12 Months
- With orange yarn and a H (5.0mm) hook, ch 6. Sl st in the 2nd ch from hook, sc in next 2 ch, hdc in next ch, 2 hdc in last ch. Fasten off leaving a long tail for sewing the nose to the hat.
Toddler, Child & Teen/Adult
- With orange yarn and a H (5.0mm) hook, ch 8. Sl st in the 2nd ch from hook, sc in next 2 ch, hdc in next 2 ch, dc in next ch, 2 dc in last ch. Fasten off leaving a long tail for sewing the nose to the hat.