I always love learning new techniques to improve my crochet projects. Likewise, I then want to incorporate those techniques into my patterns so that you can improve your crochet projects too. One technique I learned a little over a year ago is the foundation half double crochet (abbreviated Fhdc), also referred to as a chainless foundation method. Using this approach will create a stretchy start to your project instead of a tight, unyielding chain.
Written Instructions
Ch 3, yarn over, insert hook in 3rd chain from hook, yarn over and pull up loop (3 loops on hook), yarn over and draw through 1 loop (1 chain created), yarn over and draw through all 3 loops on hook—1 foundation half double crochet created. *Yarn over, insert hook under the 2 loops of the chain created in the last stitch and pull up loop, yarn over and draw through 1 loop, yarn over and draw through all 3 loops on hook; repeat from * for length of foundation.
Picture Tutorial
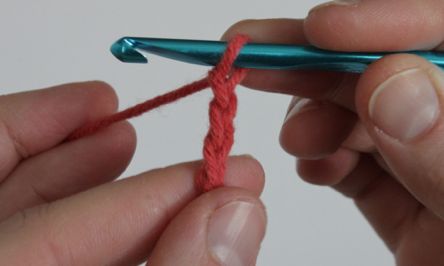
1- Chain 3.
2- Yarn over.

3- Insert hook in 3rd chain from the hook.
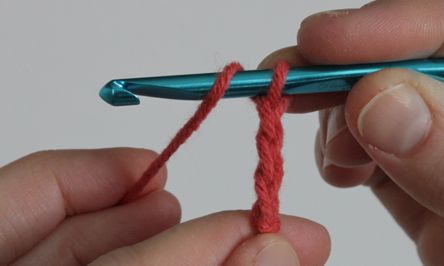
4- Yarn over and draw loop through.
5- Yarn over.
6- Draw through 1 loop (1 chain created).
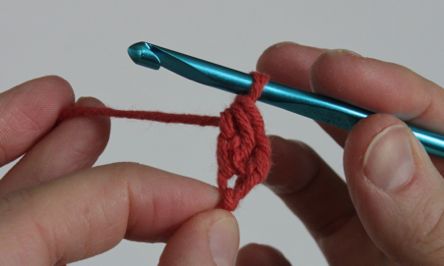
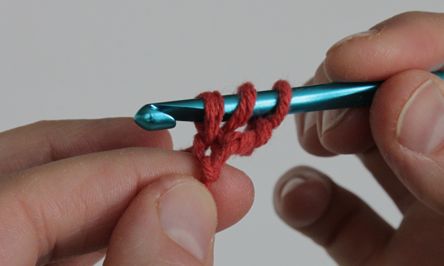
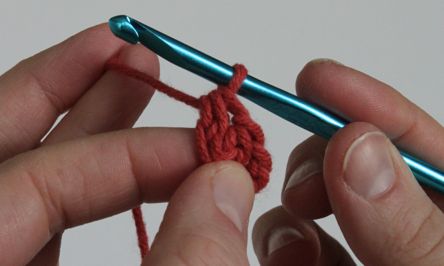
7- Yarn over and draw through all 3 loops on hook (1 Fhdc created).
8- Yarn over.

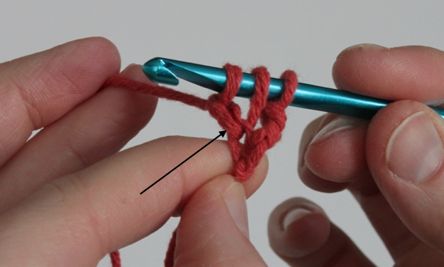
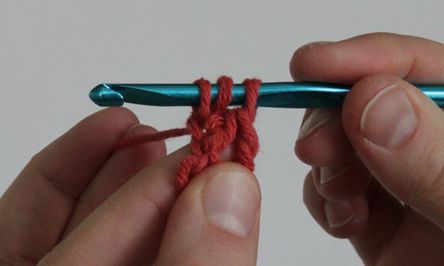
9- Insert hook through chain created in previous stitch.
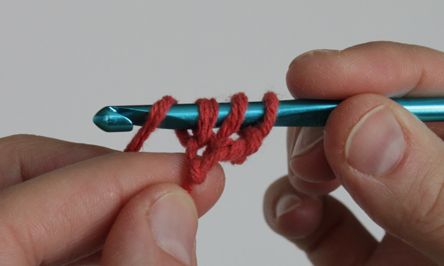
10- This is how it should look when you insert your hook through the chain.
11- Yarn over and draw through a loop.
12- Yarn over.
13- Draw through 1 loop (another chain created).
14- Yarn over and draw through all 3 loops on hook (another Fhdc created).
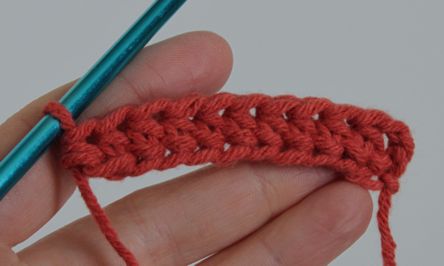
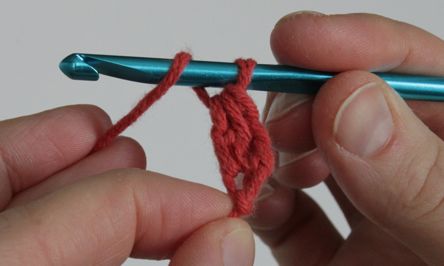
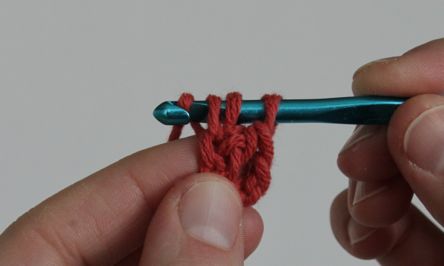
Repeat steps 8 through 14 for the number of Fhdc specified in the pattern. Here is what 10 Fhdc looks like.

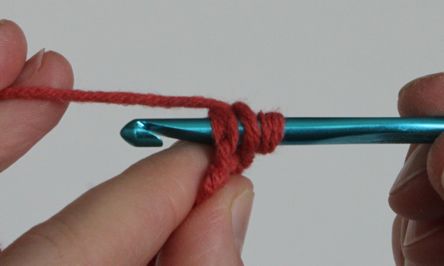
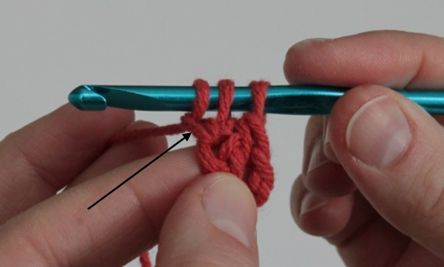
This is a view of those same 10 stitches from the bottom.


 Here’s a quick tip that will keep your workspace clean and save you some cash in the future.


