I just released my Big Button Interchangeable Flower Pattern and I thought it would be a good time to share a little trick I picked up in junior high home economics class. When sewing on a button, you want to make sure that there is room between the button and whatever you are sewing it to. By creating a shank out of your sewing thread, it allows space for the button to function properly.
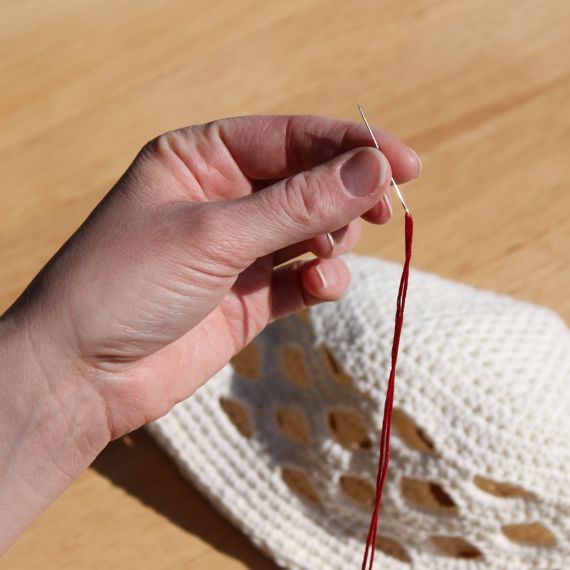 1. Since my flowers pattern uses a 1.5″ button, I chose to secure the button with embroidery floss rather than normal thread.
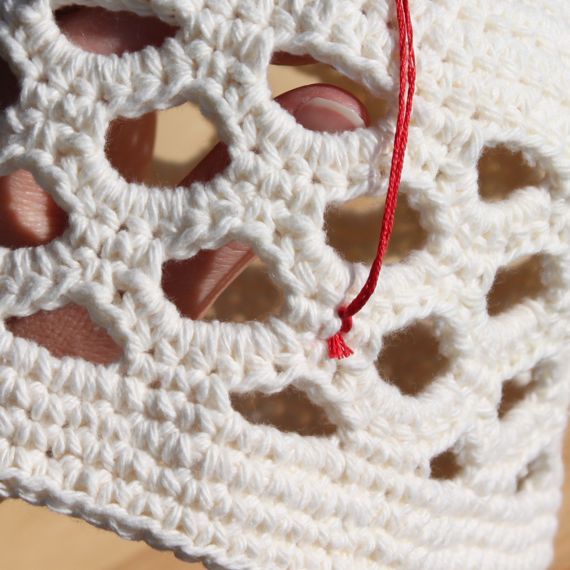 2. Use a double strand of thread. Securely attach the thread to the item on which you are sewing a button.
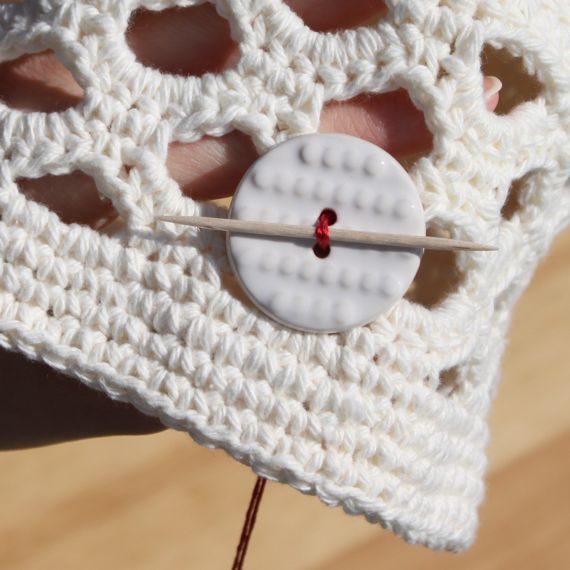 3. Bring your needle and thread through one hole in the button. Center the button over the stitch. Insert your needle into the other hole in the button and into the item on which you are sewing. Pull through. Slip a toothpick between the thread and button to create a space for the shank.
 4. Make 3 or 4 stitches through each hole.
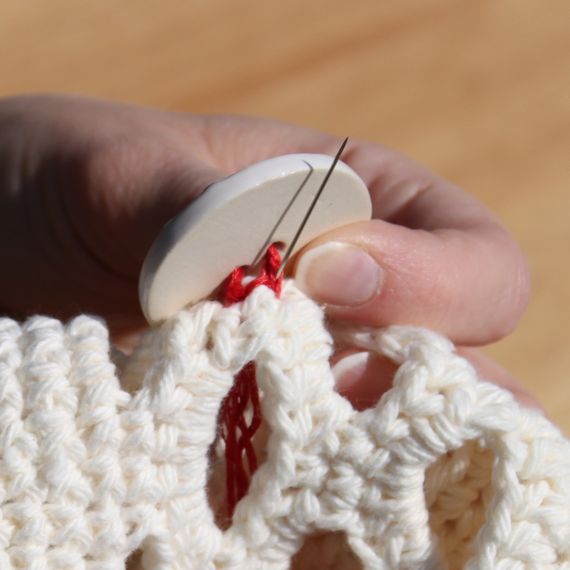 5. Bring your needle and thread to the right side under the button. Remove the toothpick.
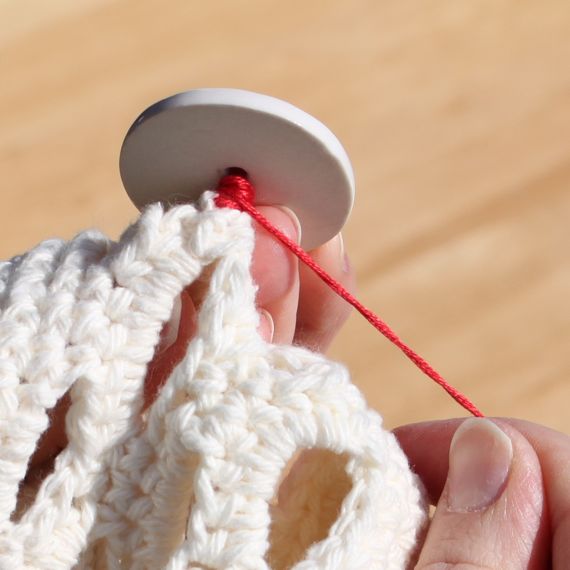 6. Wind the thread several times around the button stitches to form a shank.
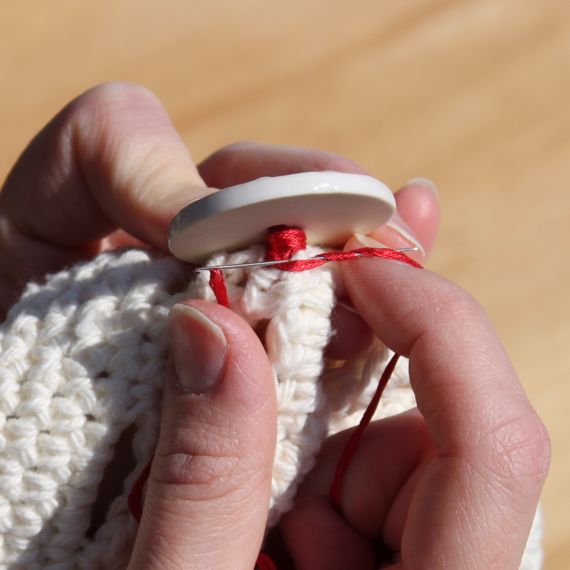 7. Secure the thread in your item under the button by making a knot or several small stitches.
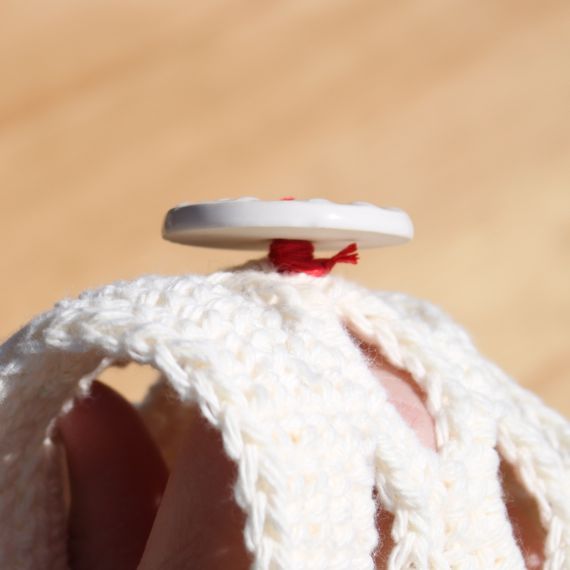 8. Trim your thread and you’re done — a button with room to bloom!




do you have the pattern for the hat demo’d in the button sewing tip?
I do. It is the Newsboy Scalloped Breezy Beanie Pattern (http://www.micahmakes.com/pattern-store/newsboy-scalloped-breezy-beanie-pattern). The picture in the pattern store looks a little different, but the pattern includes instructions for a solid color or multiple color hat, with or without a brim, in all sizes.