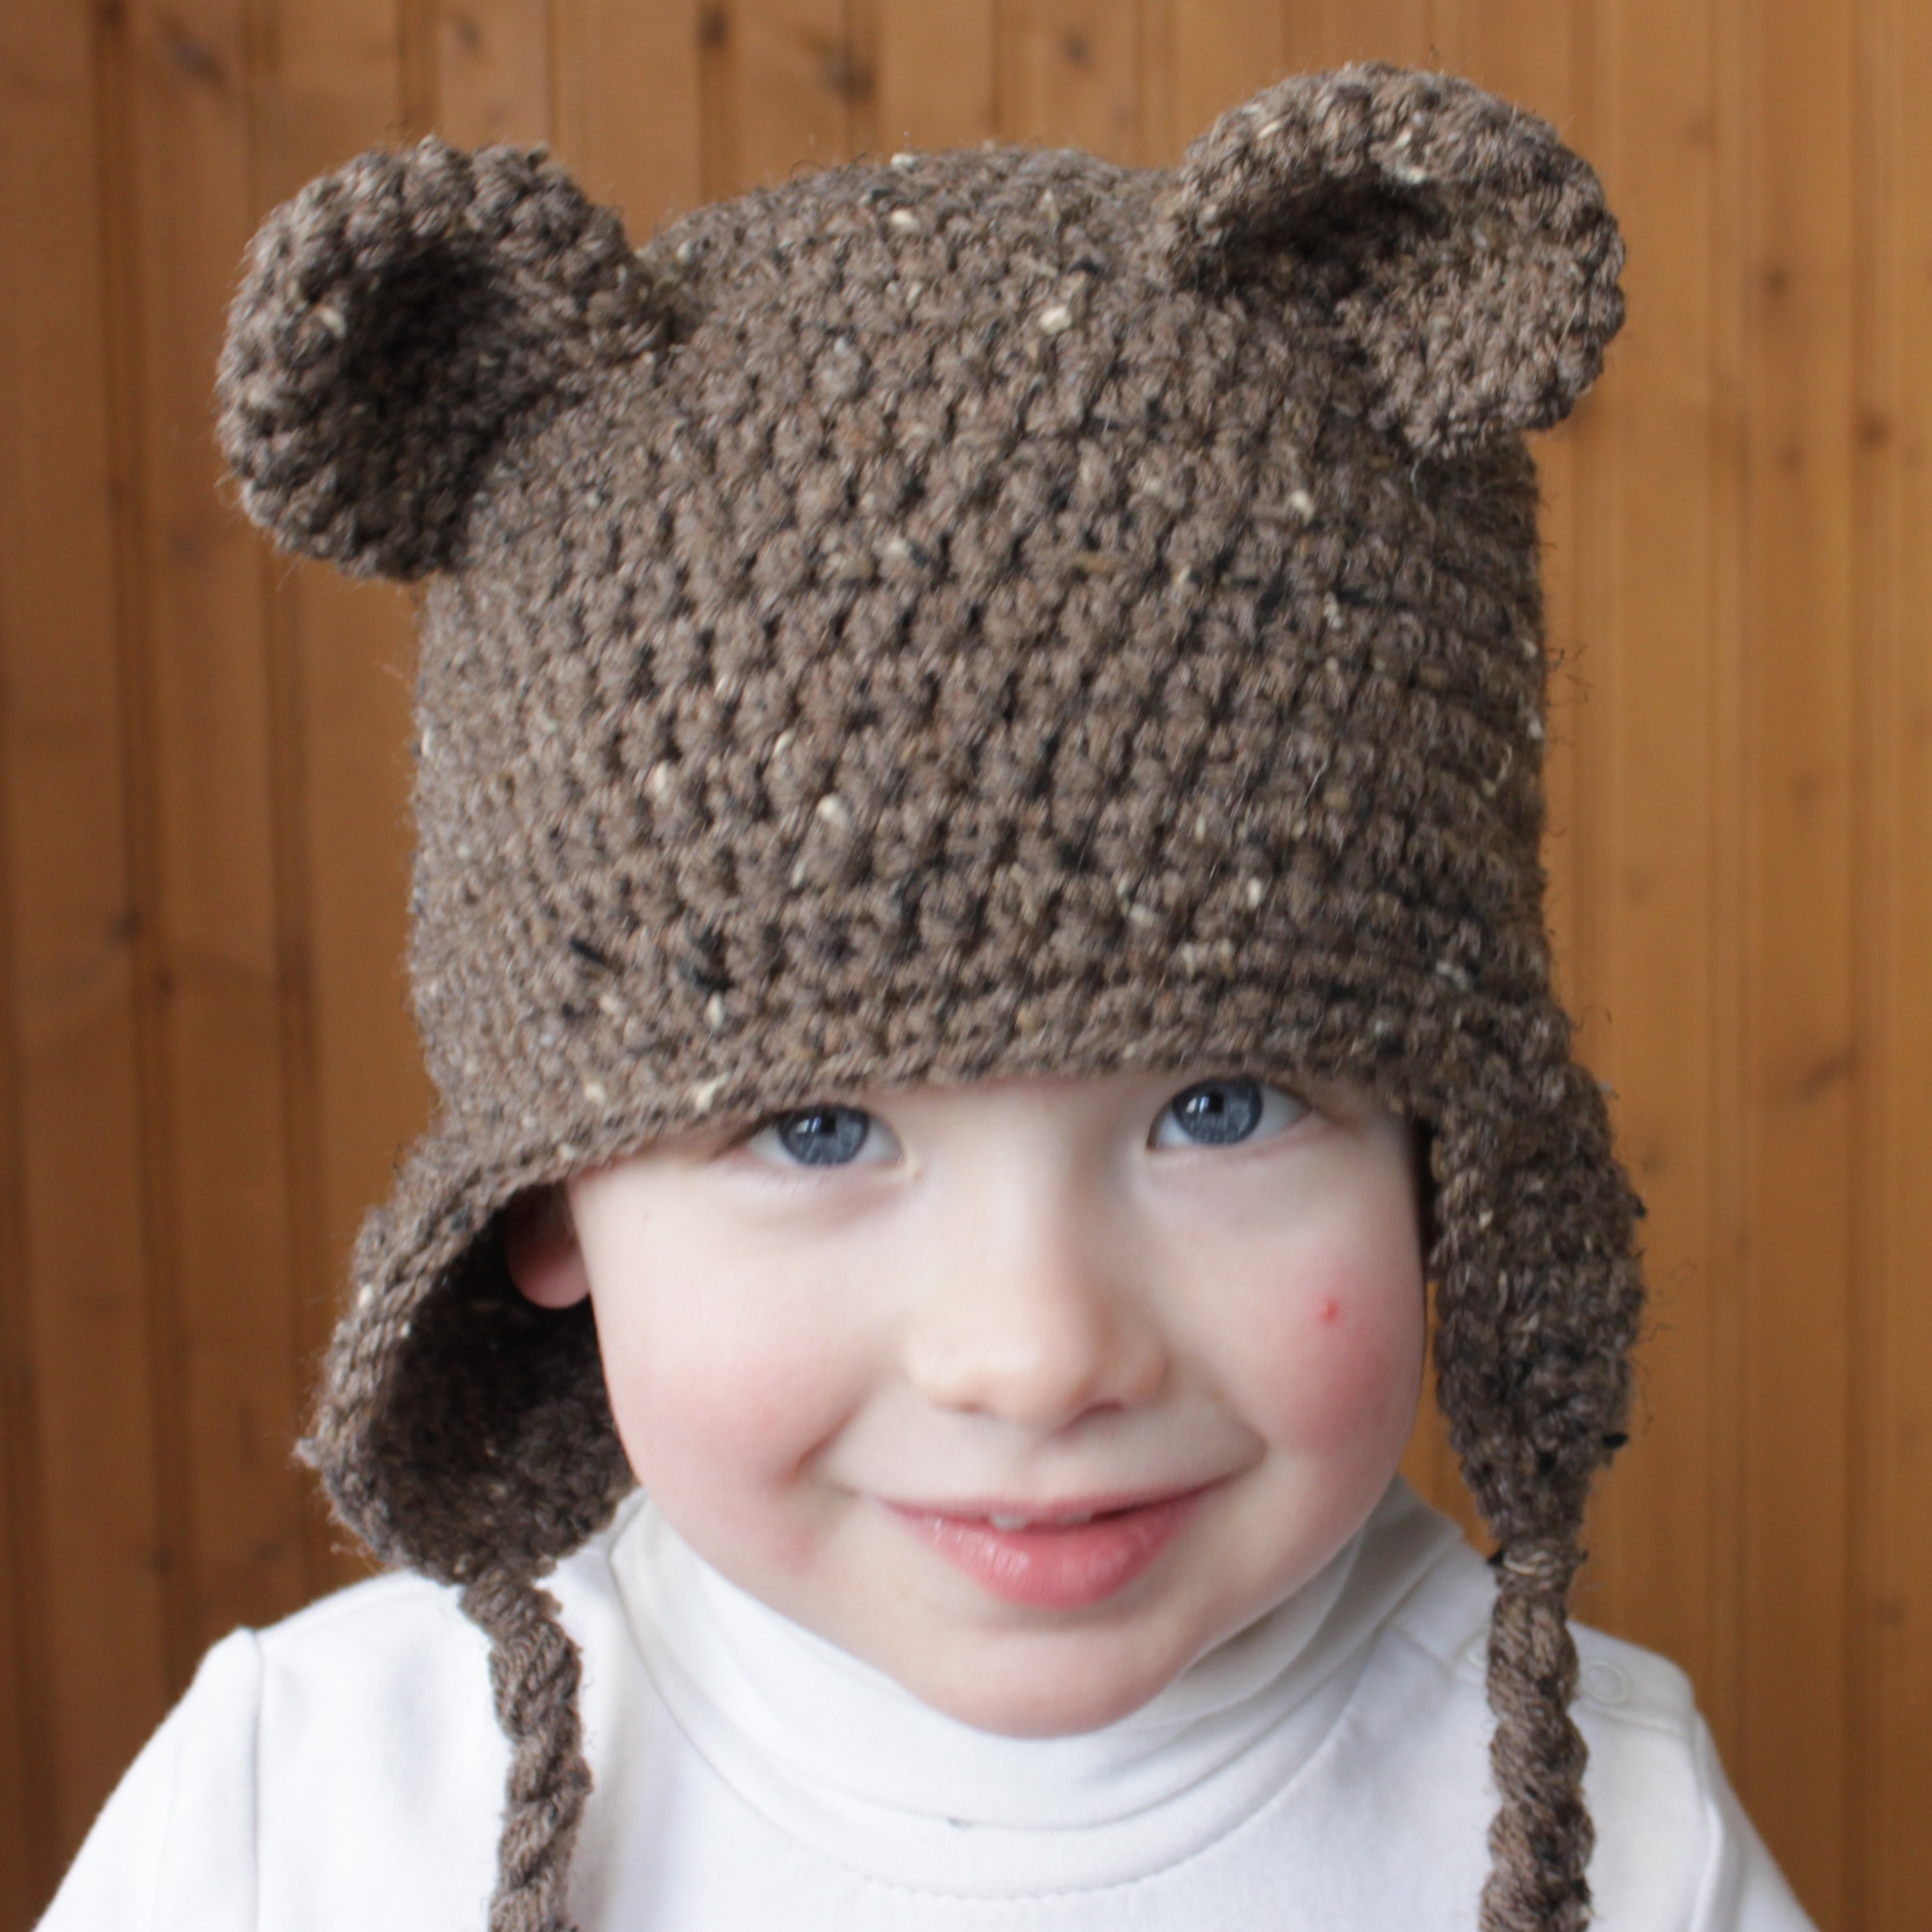
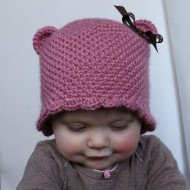
The kids and I haven’t been feeling our best this week, so we decided to make another animal hat to bring some smiles to our faces. I don’t think too many people could resist smiling when faced with an adorable kid in an adorable hat. Snuggling with this teddy bear sure made me feel better!
To make a bear hat of your own, follow the directions in my free Versatile Earflap Hat Pattern. I chose to make my entire hat including braids on the earflaps in one color, Vanna’s Choice yarn in Barley. Make the ears with an H hook according to the directions below for whichever size you are making. When the ears are completed, squish them in half, position them on the hat and sew in place.
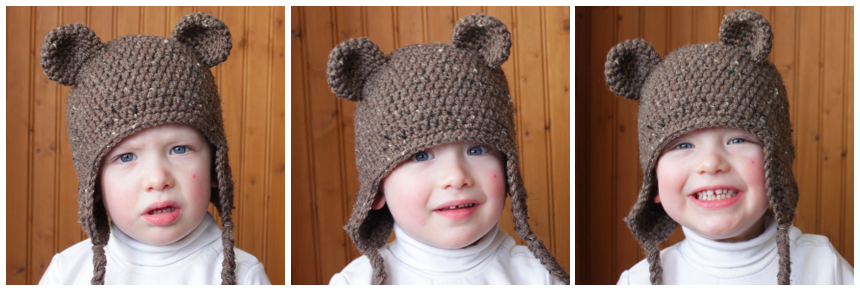
Ears (make 2)
0-3 Month and 3-6 Month Sizes
- Round 1: 6 Sc in a magic circle; do not join, use a stitch marker at the end of rounds if you need to. (6)
- Round 2: 2 Sc in ea st around; do not join. (12)
- Round 3: * 2 Sc in next st, sc in next 5 sts * repeat around; do not join. (14)
- Round 4:Â Sc in each st around; do not join. (14)
- Round 5: * Sc2tog, sc in next st, sc2tog, sc in next 2 sts * repeat around. (10)Â Sl st in next st and fasten off, leaving a long tail for sewing the ear to the hat.
6-12 Month and Toddler Sizes
- Round 1: 6 Sc in a magic circle; do not join, use a stitch marker at the end of rounds if you need to. (6)
- Round 2: 2 Sc in ea st around; do not join. (12)
- Round 3: Sc in next 2 sts, * 2 sc in next st, sc in next st * repeat around; do not join. (17)
- Round 4:Â Sc in each st around; do not join. (17)
- Round 5: Sc2tog, sc in next 7 sts, sc2tog, sc in next 6 sts around; do not join. (15)
- Round 6: * Sc2tog, sc in next 3 sts * repeat around. (12)Â Sl st in next st and fasten off, leaving a long tail for sewing the ear to the hat.
Child and Teen/Adult Sizes
- Round 1: 6 Sc in a magic circle; do not join, use a stitch marker at the end of rounds if you need to. (6)
- Round 2: 2 Sc in ea st around; do not join. (12)
- Round 3: * 2 Sc in next st, sc in next st * repeat around; do not join. (18)
- Round 4: * 2 Sc in next st, sc in next 8 sts * repeat around; do not join. (20)
- Round 5-6: Sc in each st around; do not join. (20)
- Round 7: * Sc2tog, sc in next 8 sts * repeat around; do not join. (18)
- Round 8: * Sc2tog, sc in next 4 sts * repeat around. (15) Sl st in next st and fasten off, leaving a long tail for sewing the ear to the hat.
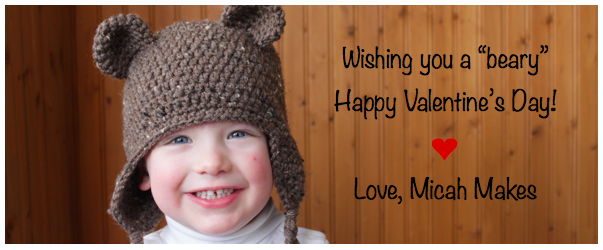
Bonus – you can make some pretty cute Valentines with this hat too! Hope you love it and if you have any questions, please leave a comment or email me at email hidden; JavaScript is required.










I just love your stuff! Thanks for producing some really useful tutorials!!
I’m glad you are enjoying them!
I love your patterns and have made several of your Earflap Hat pattern. Thanks for the freebie… and also your “add-on” <3
You’re welcome! I’m happy to hear you are putting them to use!!
Love this! YOu are so great! Thank you for giving this to us.
Thank you!
I made these in Chicago Bears colors for a 1-year-old and 3-year-old. I blogged about it, giving you full credit, of course. Just thought you might like to see them!
http://bit.ly/OUfiB5
Cute! I love the way they turned out and I’m sure the recipients love them too!! Thanks for sharing 🙂
Could you tell me the circumference of the teen/adult size hat?
Hi Ana. The circumference of the teen/adult size hat is 21 inches. It should fit a head circumference of up to 22-23 inches.
Hi! I appreciate your patterns very much. This is the first I’m making with ears, and I’m just surprised I’m not seeing any instructions for how/where to attach the ears. I tried searching your site, but I didn’t see any instructions. Can you possible add those? I’m on my third attempt with adding the ears, and it just doesn’t seem right. Thanks!
Hi Sarah! For the best ear placement on a teddy bear hat, I would suggest laying the hat flat and marking (either mentally or with stitch markers) 1/4 the way down the hat from the top to the front edge. This is about where I would sew the ears to the hat. Line up the outside of each ear with the front edge of each earflap and place them 1/4 of the length from the top of the hat. Then just sew the ears to the hat with a whipstitch through the ear and the hat. If you can manage sewing them with a slight curve instead of a straight line that will help them look more natural. I can add some photos of this to the website at some point, but hopefully this makes sense for now!
too cute!
I linked to your tutorial on my blog – thanks for sharing!
doro K.
Thanks so much for the great pattern! I made one for my son, and we both love it! 🙂 I blogged about it here:
http://knitmepieces.blogspot.com/2013/01/new-hats.html
Thanks again for sharing your wonderful work!