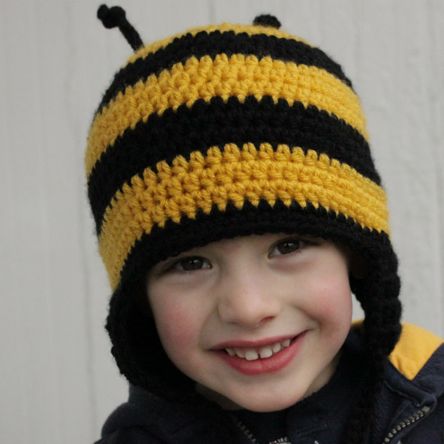
Summer is officially here and it’s time for more summer-inspired versions of my free Versatile Earflap Hat Pattern. This bumble bee is quite a bit cuter than any bumble bees you’ll find in nature, and you can make this hat for your cuties too by following the instructions below. Have fun crocheting!
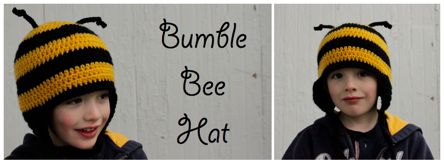
To make this hat, follow the instructions in my free hat pattern available for download here, changing colors as noted below.
0-3 Months
- Work rounds 1 through 3 in yellow
- Switch to black for rounds 4 & 5
- Switch to yellow for rounds 6 & 7
- Switch to black for rounds 8 & 9
- Switch to yellow for rounds 10 & 11
- Switch to black for earflaps and both edgings
3-6 Months
- Work rounds 1 through 4 in yellow
- Switch to black for rounds 5 & 6
- Switch to yellow for rounds 7 & 8
- Switch to black for rounds 9 & 10
- Switch to yellow for rounds 11 & 12
- Switch to black for earflaps and both edgings
6-12 Months
- Work rounds 1 through 5 in yellow
- Switch to black for rounds 6 & 7
- Switch to yellow for rounds 8 & 9
- Switch to black for rounds 10 & 11
- Switch to yellow for rounds 12 & 13
- Switch to black for earflaps and both edgings
Toddler
- Work rounds 1 through 7 in yellow
- Switch to black for rounds 8 & 9
- Switch to yellow for rounds 10 & 11
- Switch to black for rounds 12 & 13
- Switch to yellow for rounds 14 & 15
- Switch to black for earflaps and both edgings
Child
- Work rounds 1 through 6 in yellow
- Switch to black for rounds 7 through 9
- Switch to yellow for rounds 10 through 12
- Switch to black for rounds 13 through 15
- Switch to yellow for rounds 16 through 18
- Switch to black for earflaps and both edgings
Teen/Adult
- Work rounds 1 through 8 in yellow
- Switch to black for rounds 9 through 11
- Switch to yellow for rounds 12 through 14
- Switch to black for rounds 15 through 17
- Switch to yellow for rounds 18 through 20
- Switch to black for earflaps and both edgings
For the antennae on this child size hat, I made a chain of 15, then slip stitched in the second chain from the hook and in each chain across. Then I fastened off and used the loose ends to tie the antennae on the hat. Last, I tied a knot in the top of each antenna. I think a chain of 15 is a good length for any size hat, but you can always use whatever length suits your preference. The antennae are somewhat floppy, but they will hold their shape for a few seconds if you are trying to get pictures. They are still super cute, even floppy.
Thanks for stopping by! If you have any questions about this hat or anything at all, please don’t hesitate to email me at email hidden; JavaScript is required.

